Fairy Garden Gazebo
Throughout last week, I worked on my fairy garden gazebo.
Most of these steps took about a day to dry.
First I painted the gazebo with some non-toxic stain, to give it a distressed look.
I saw that the stain did not cover some areas where it had been glued.
I was going to decorate it with moss anyway, so I covered those areas first.
I used hot glue, but super glue would probably have been better.
I also used pieces of plastic plants.
I cut pieces of a fake fern leaf, to make little ferns.
I did not take a picture at this point.
But, that was a fun day of decorating.
The gazebo is supposed to cover a little bundle of wires by the pond.
It would need some kind of base that would raise it off the ground.
I planned to cover the base with little rocks from the dollar store.
Here is an idea from Pinterest, so you can see what I had in mind for the base:
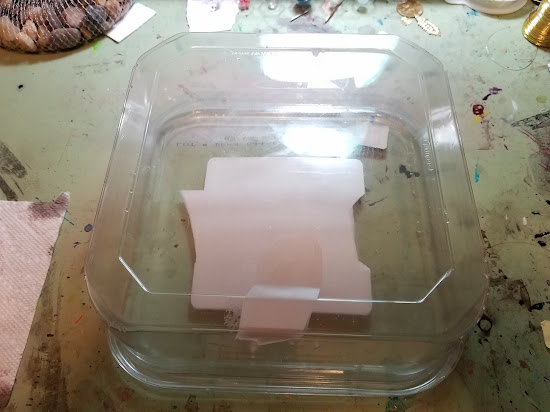
At first I thought this plastic cookie container would work:
I painted it with beige acrylic paint as a background.
After trying it out, though, I did not like the way the pebbles would look, once glued down.
A few days later I went to the 99 cents store and found a very similar sized bowl.
This shape looked MUCH better.
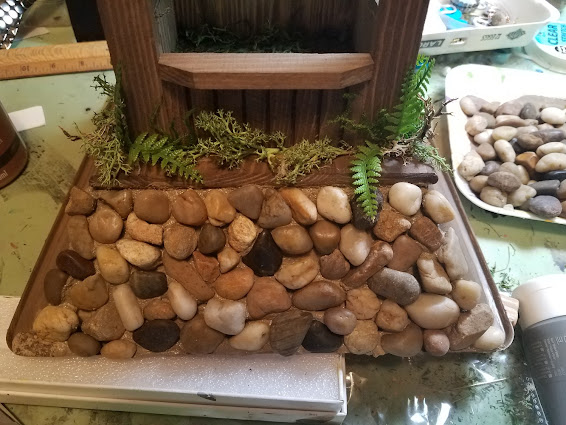
Also here you can see gazebo now decorated with the moss bits:
Next I had to figure out how to glue the rocks to the bowl.
Hot glue does not look like grout or cement, and super glue would leave too many gaps.
I mixed up some sand-textured acrylic paste and beige paint to make a thick paste.
I should have started from the bottom, up!
I had to lay the gazebo flat on its side to keep the rocks from sliding.
This took a day to dry, but it looked OK.
It's a little rubbery, since it's made of acrylic medium.
Next time I will try using actual grout, which I think the ideas used.


It is exciting to see the progressive steps and you do such a good job with exolanations, Thanks, Julie! I look forward to the next post.
ReplyDelete